HOW DO I CREATE AN APPROVAL PROCESS FOR AN OBJECTIVE?
1. Go to Setup, then search for and click on “Approval Processes”.
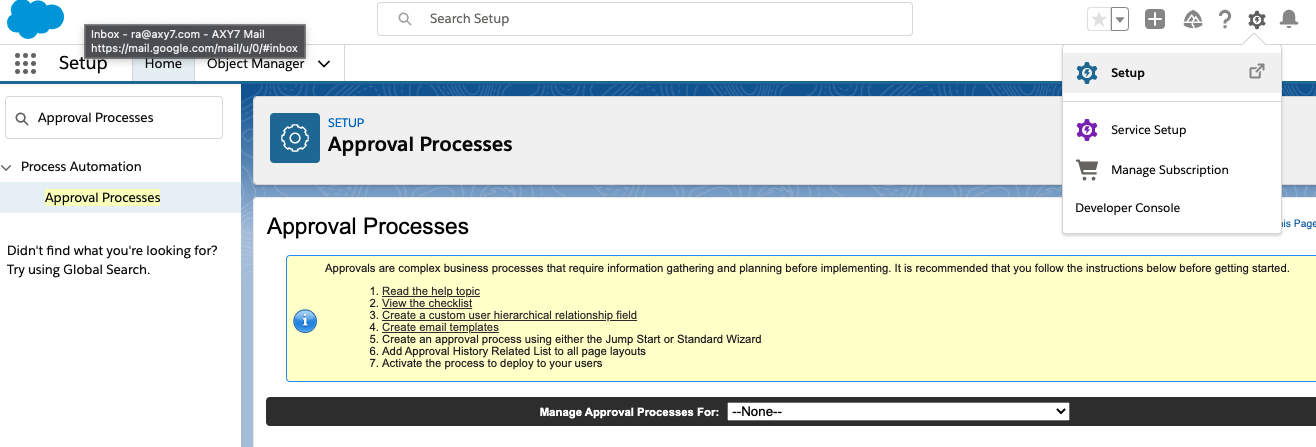
2. In the “Manage Approval Processes For” option, select “Objective”.
3. Click on the “Create new Approval Process” button and select “Use Jump Start Wizard”.
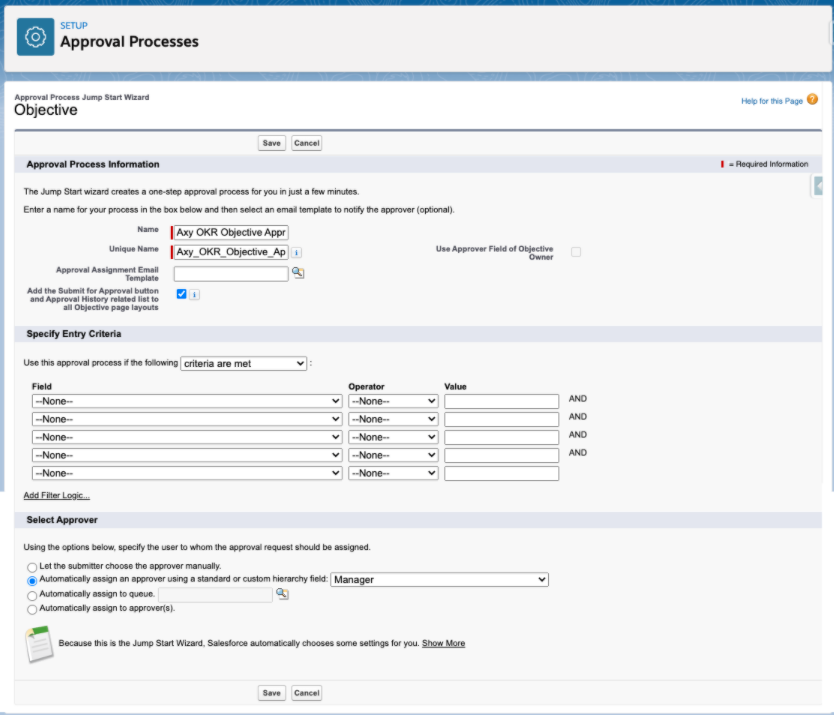
4. Complete the wizard with the following information and click “Save”:
- Name: (ex. Axy OKR Objective Approval Process)
- Unique Name: (ex. Axy_OKR_Objective_Approval_
Process) - (Optional) Approval Assignment Email Template: (if you’d like to receive an email for each approval assignment, create an email template within Salesforce and add it here)
- For “Automatically assign an approver using a standard or custom hierarchy field” in the ‘Select Approver’ section, choose “Manager”
For more information on more advanced approval processes, click here